Simple Edits to Make a Good Photo Awesome
Using Adobe Lightroom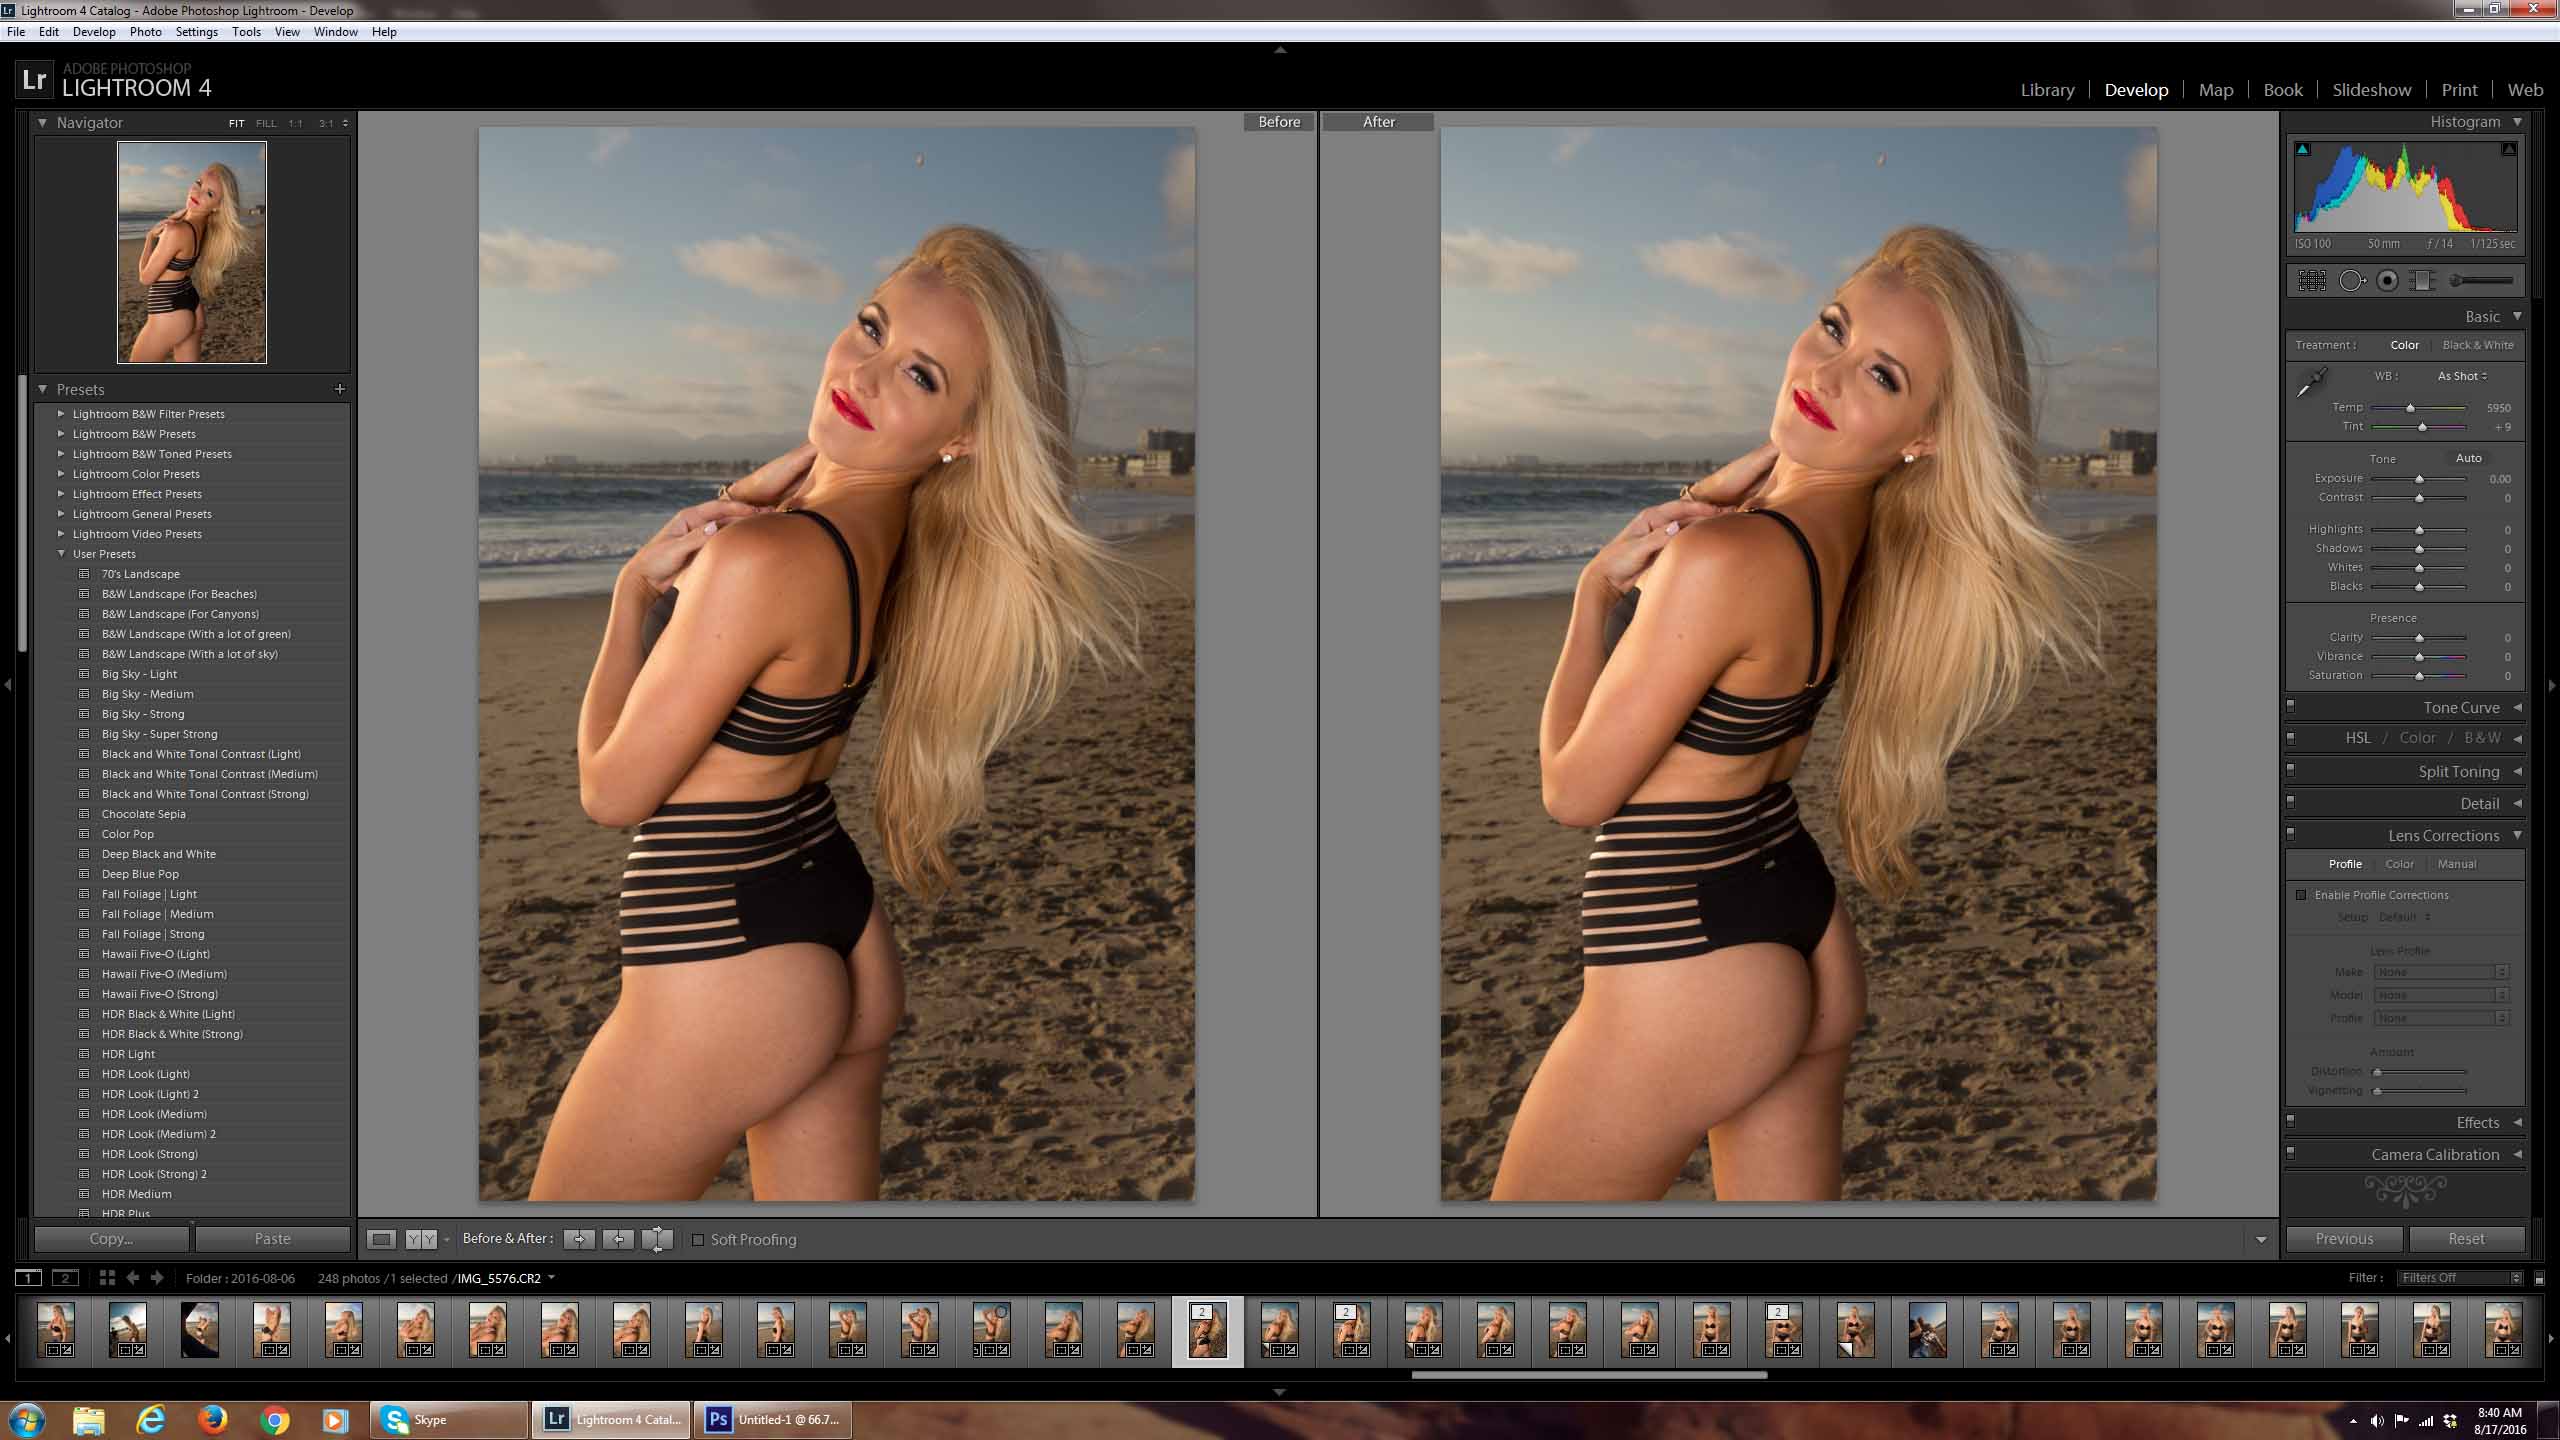
1. Start With a Photo That Has Potential
First of all, you need a good quality photo that only needs a little work. I’ve chosen this photo for this several reasons…
1. I like the composition
2. The exposure is just about correct
3. Great natural lighting at “Golden Hour” and the sky looks amazing.
I think this photo has potential to go from good to AWESOME!
2. Crop and Straighten
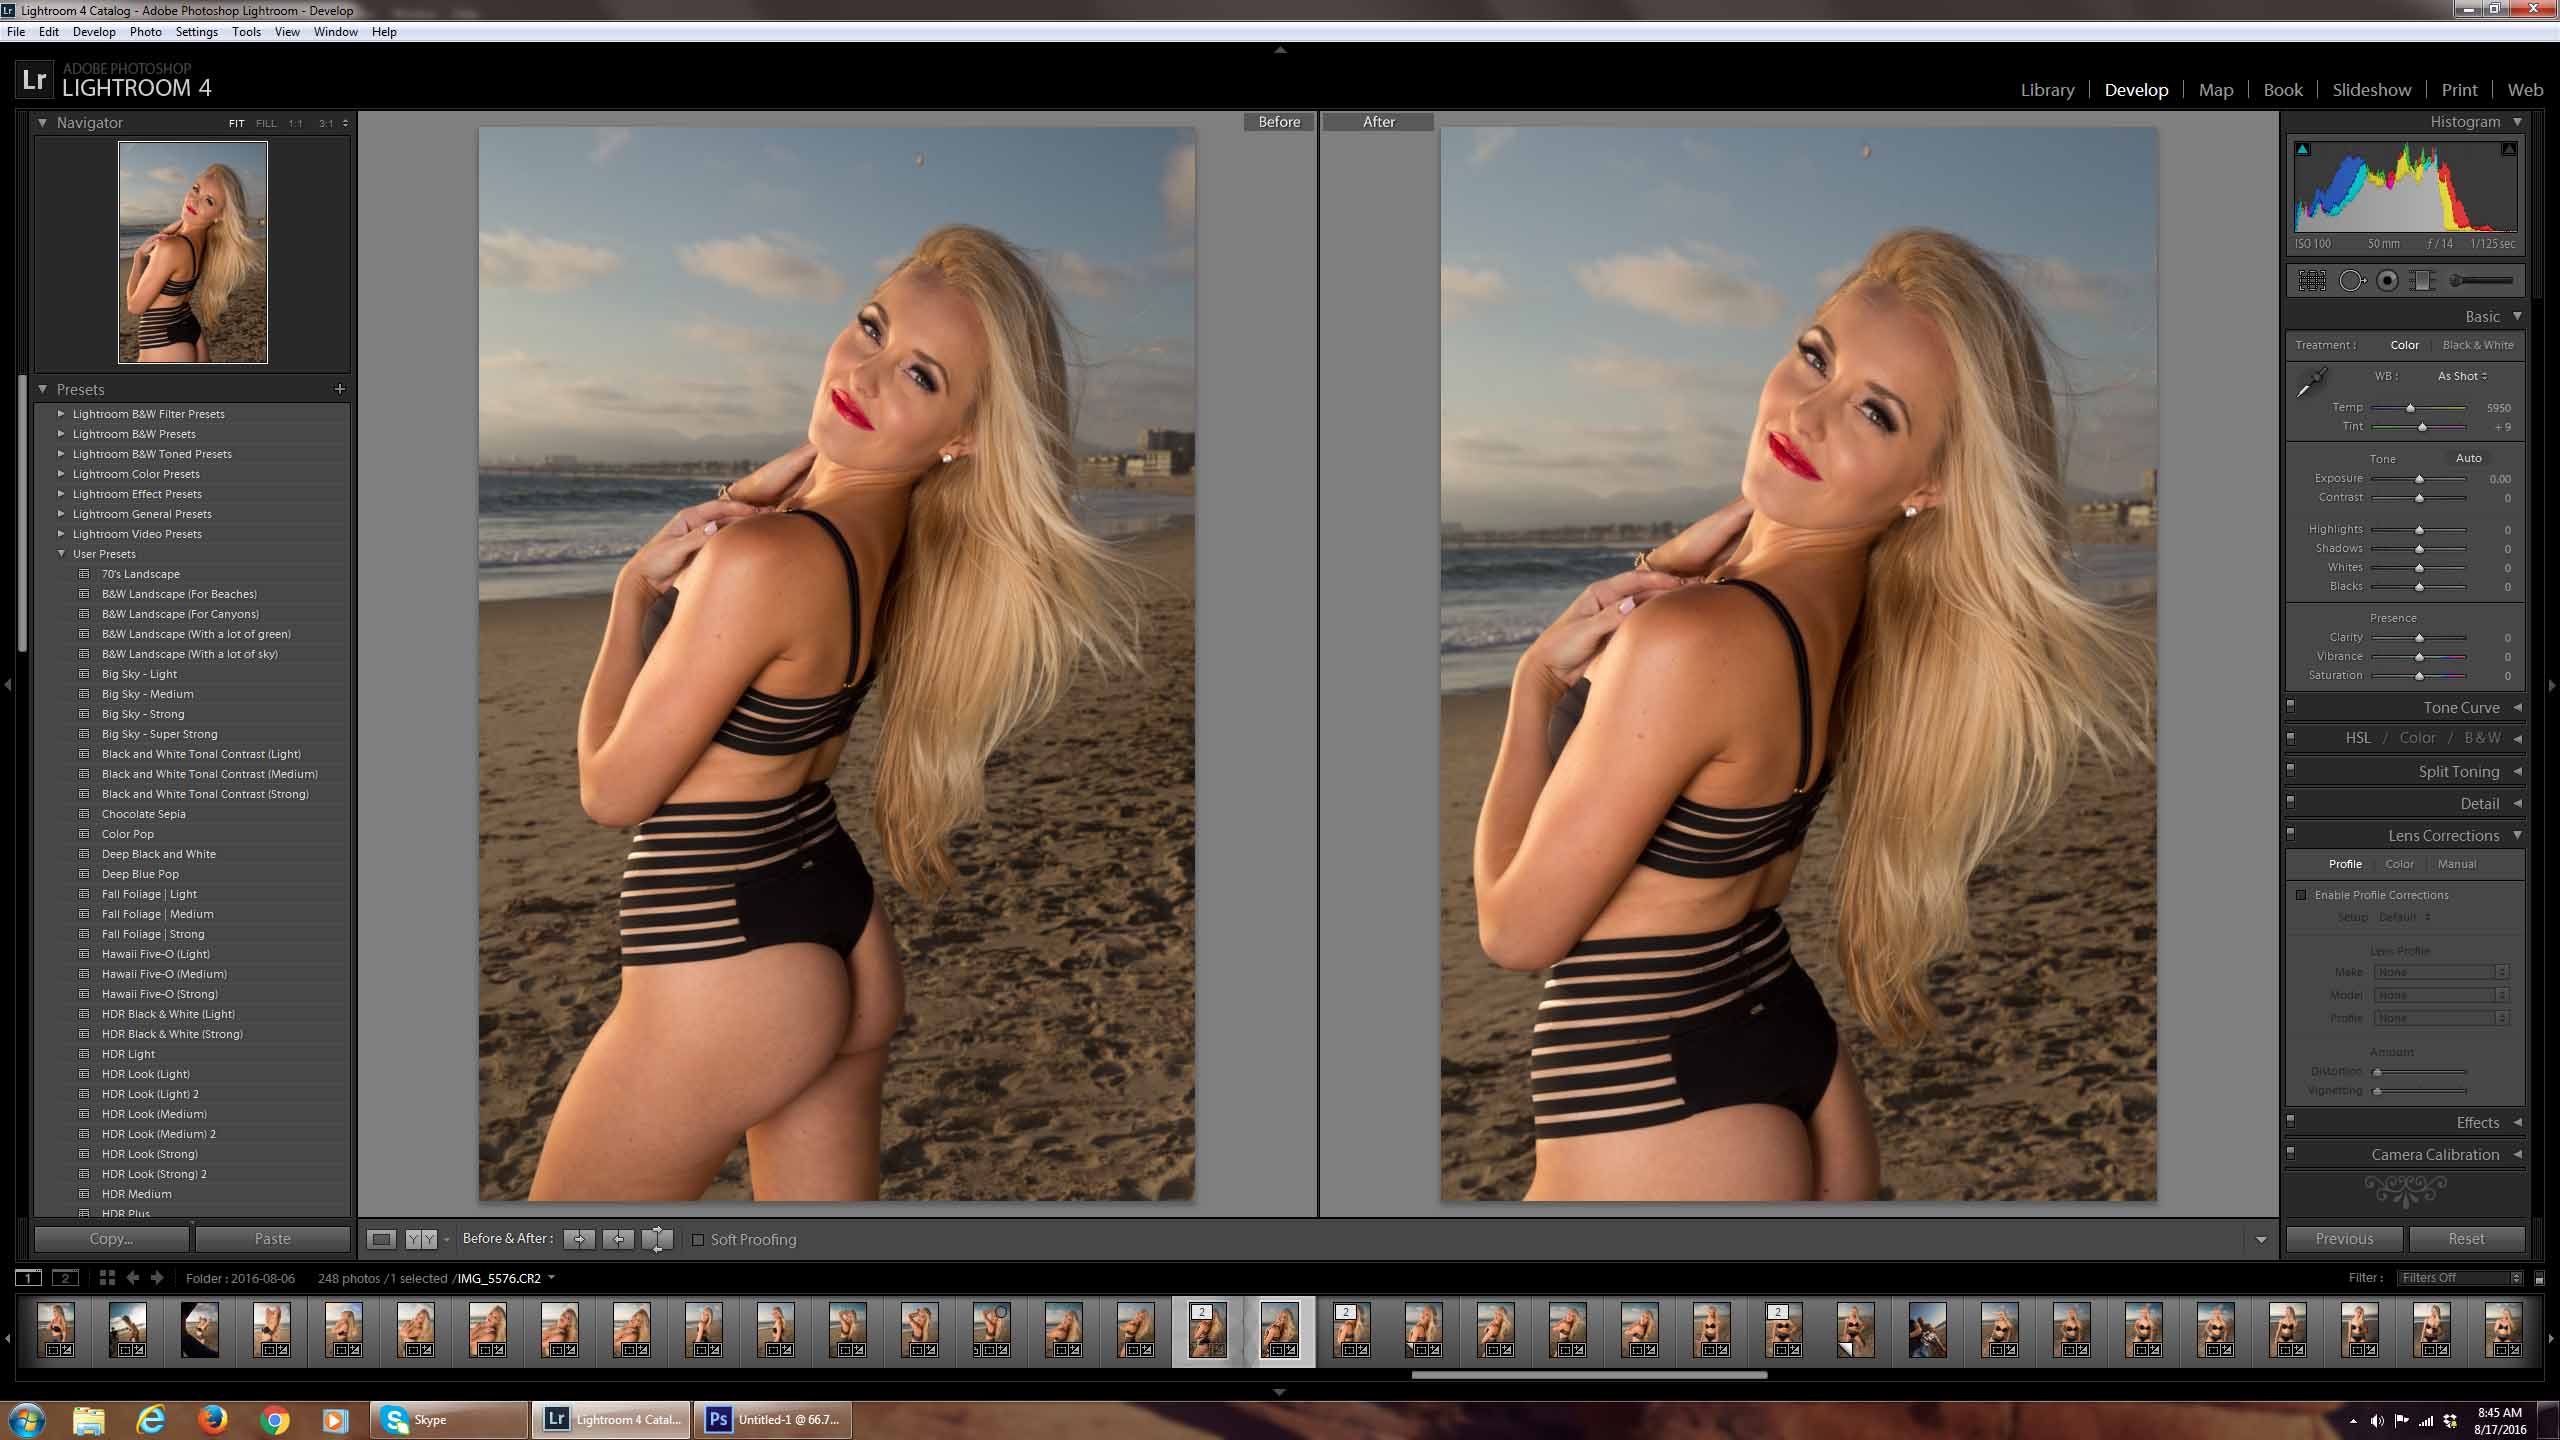
I straighten just about every photo I ever edit. I suppose when I’m at a photo shoot my camera is NEVER perfectly parallel to the ground.
Regarding cropping…this RAW image is a little revealing. While its a good image without cropping I think it’s more tasteful if we crop in a little bit in this particular case.
3. Slightly Smooth Skin Tones
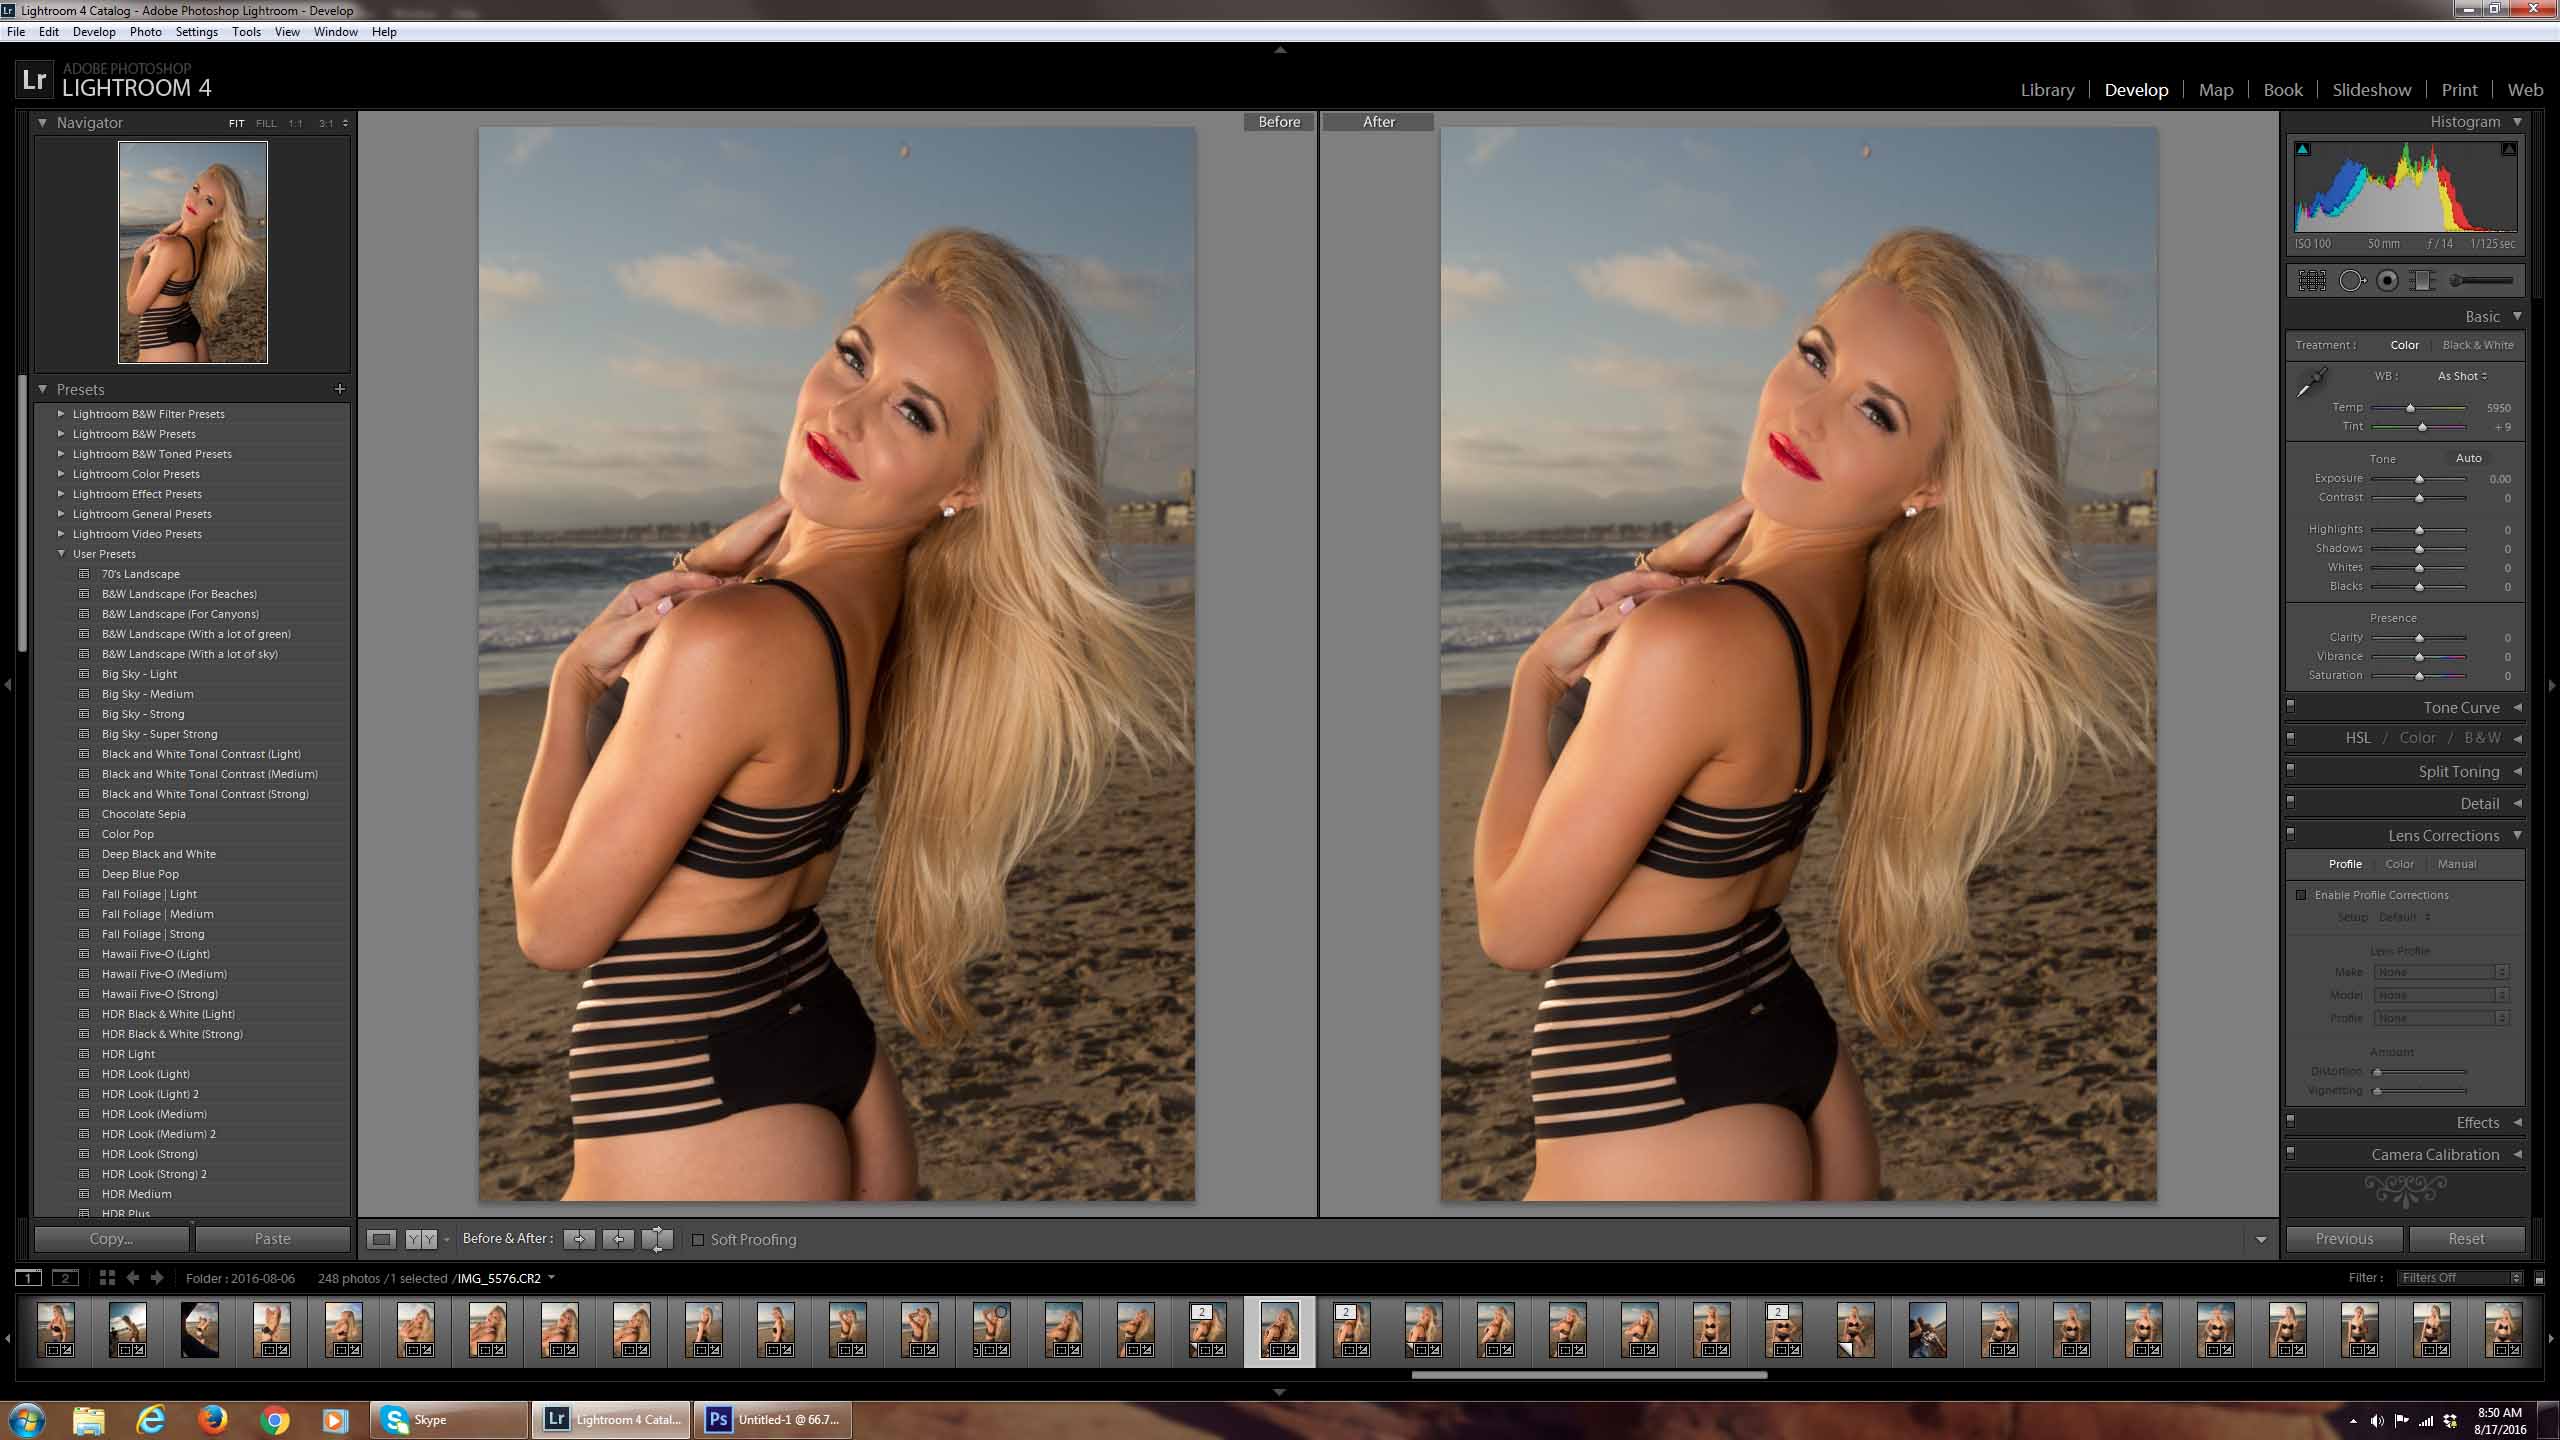
This is an important one for me. On one hand I don’t want to give someone an 80lb Photoshop diet or make their skin look like a porcelain doll. I do want to remove any slight skin blemishes such as acne, bruises or other skin discoloration. I try to do as little as possible. For example you can see slightly less wrinkles on her face and I have removed the shine from the sunlight on her skin.
4. Make it "Pop"
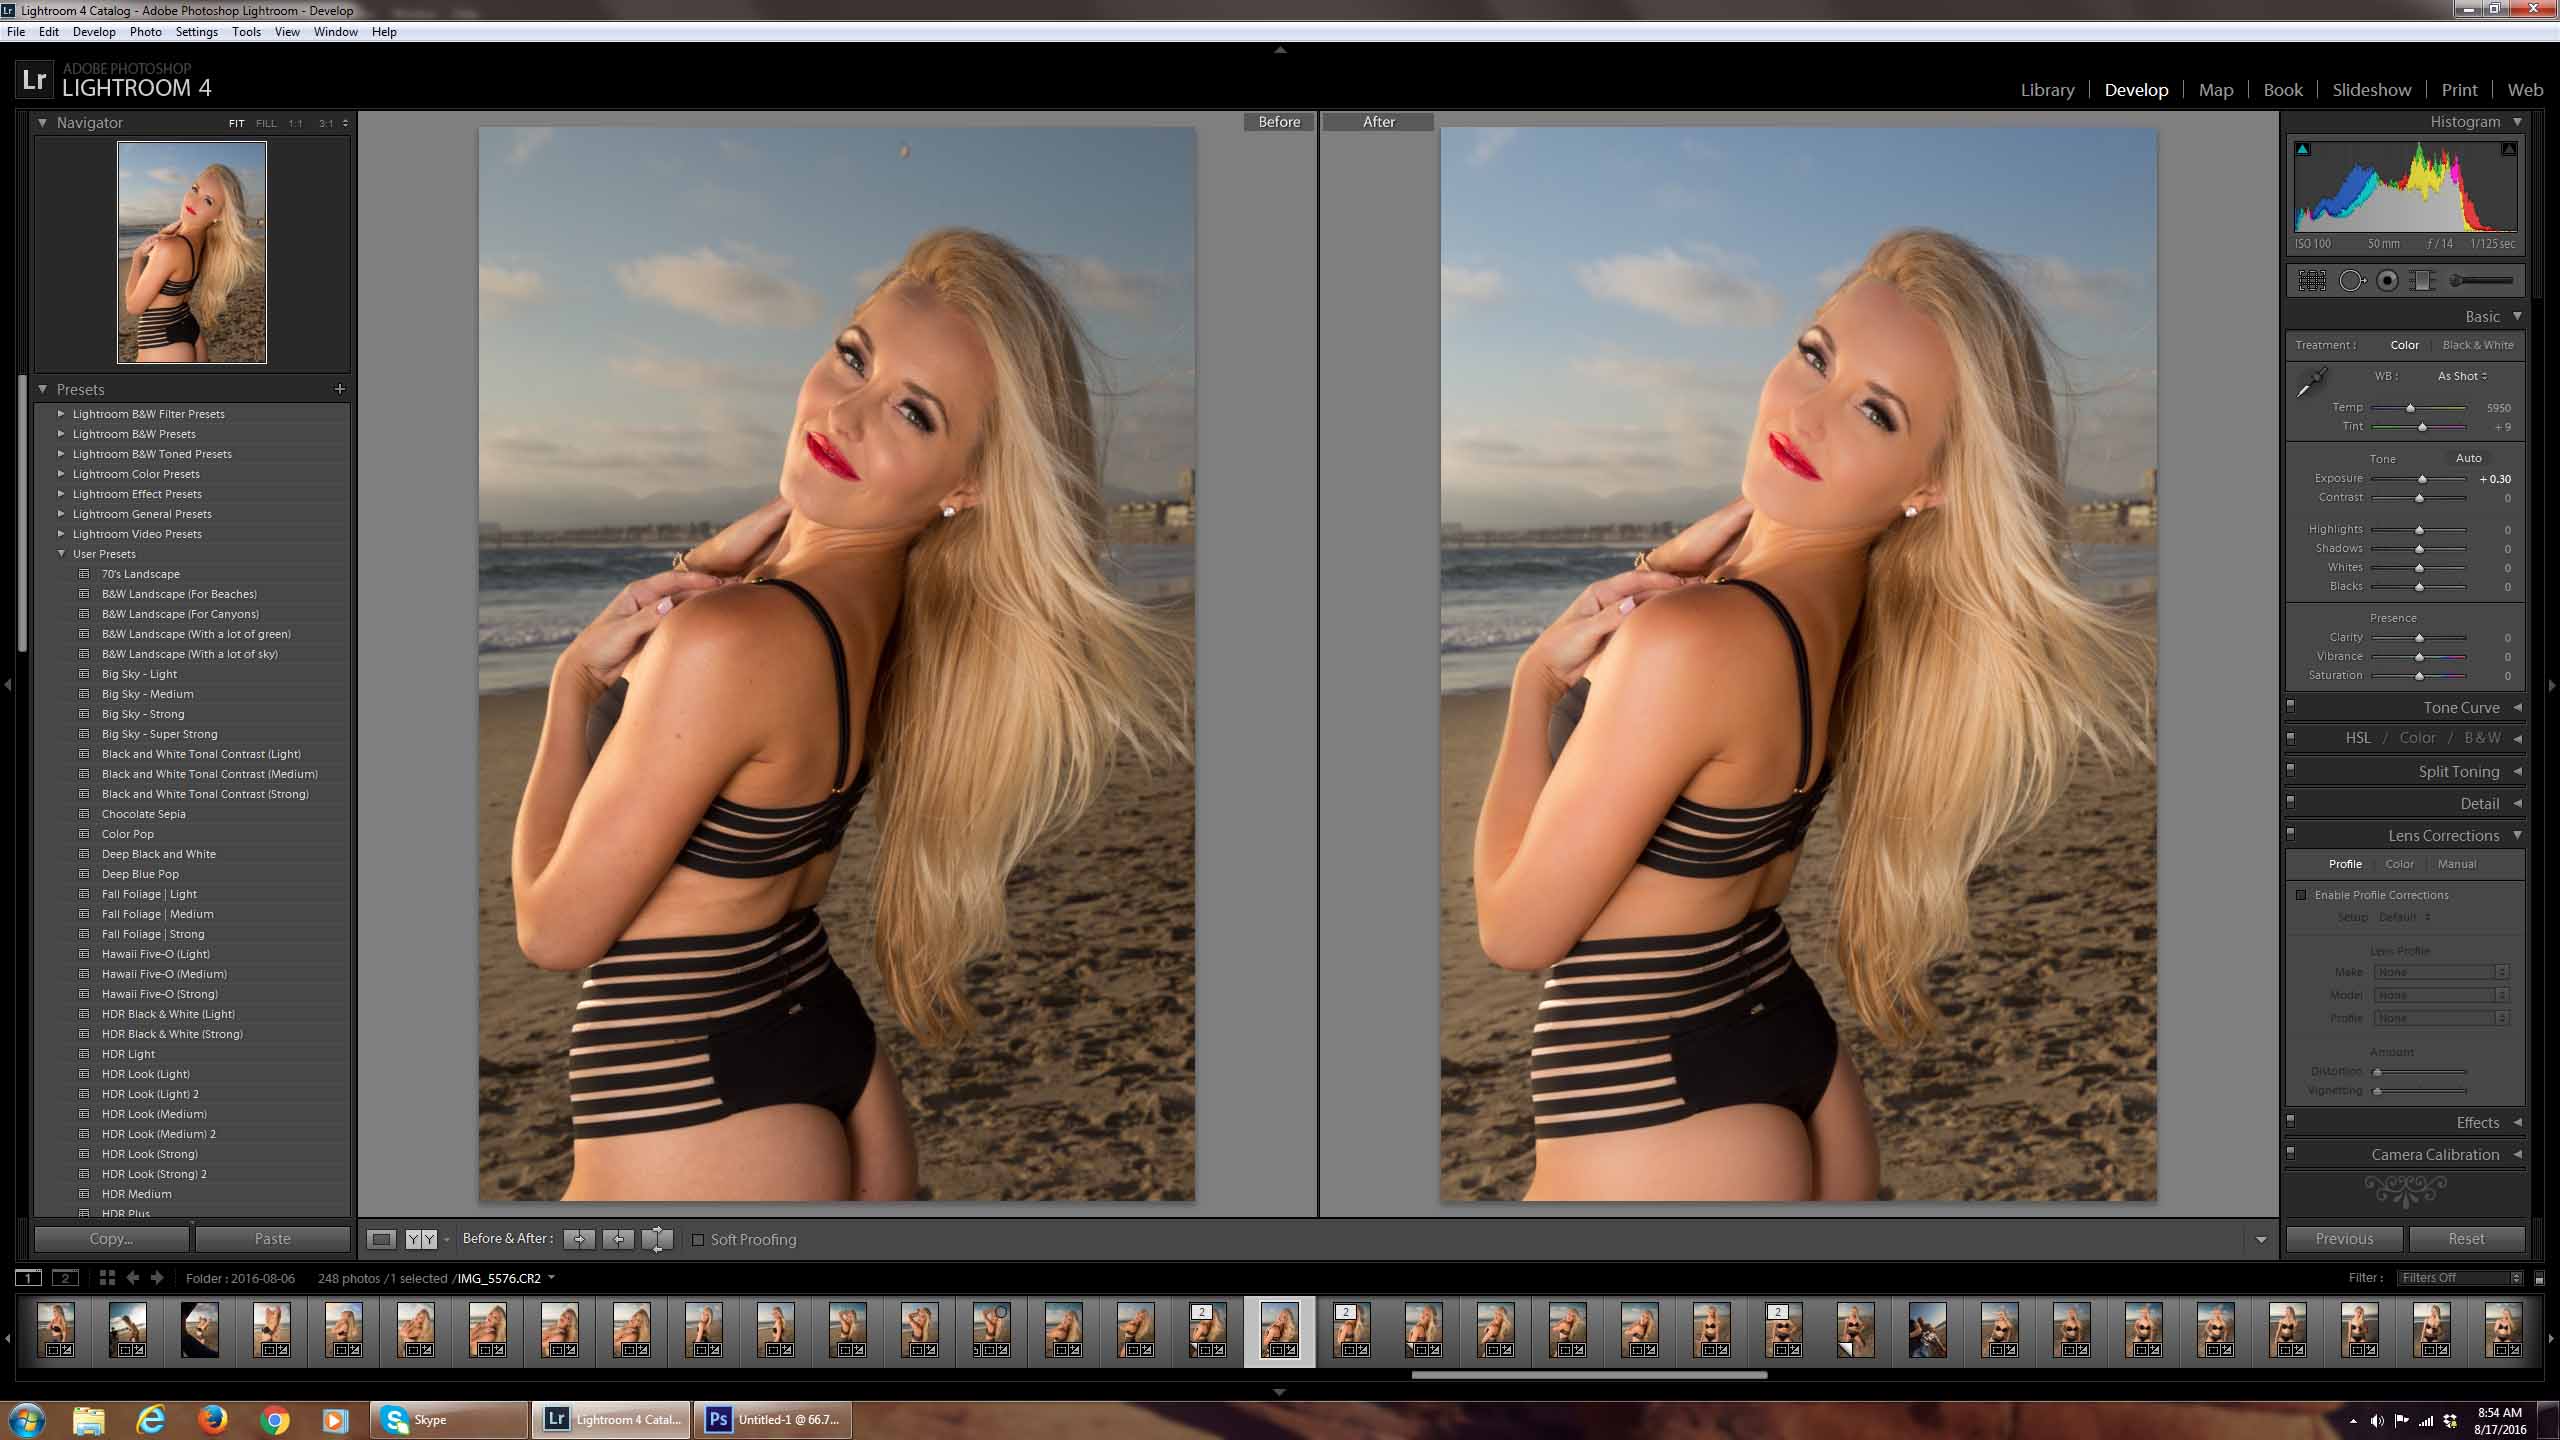
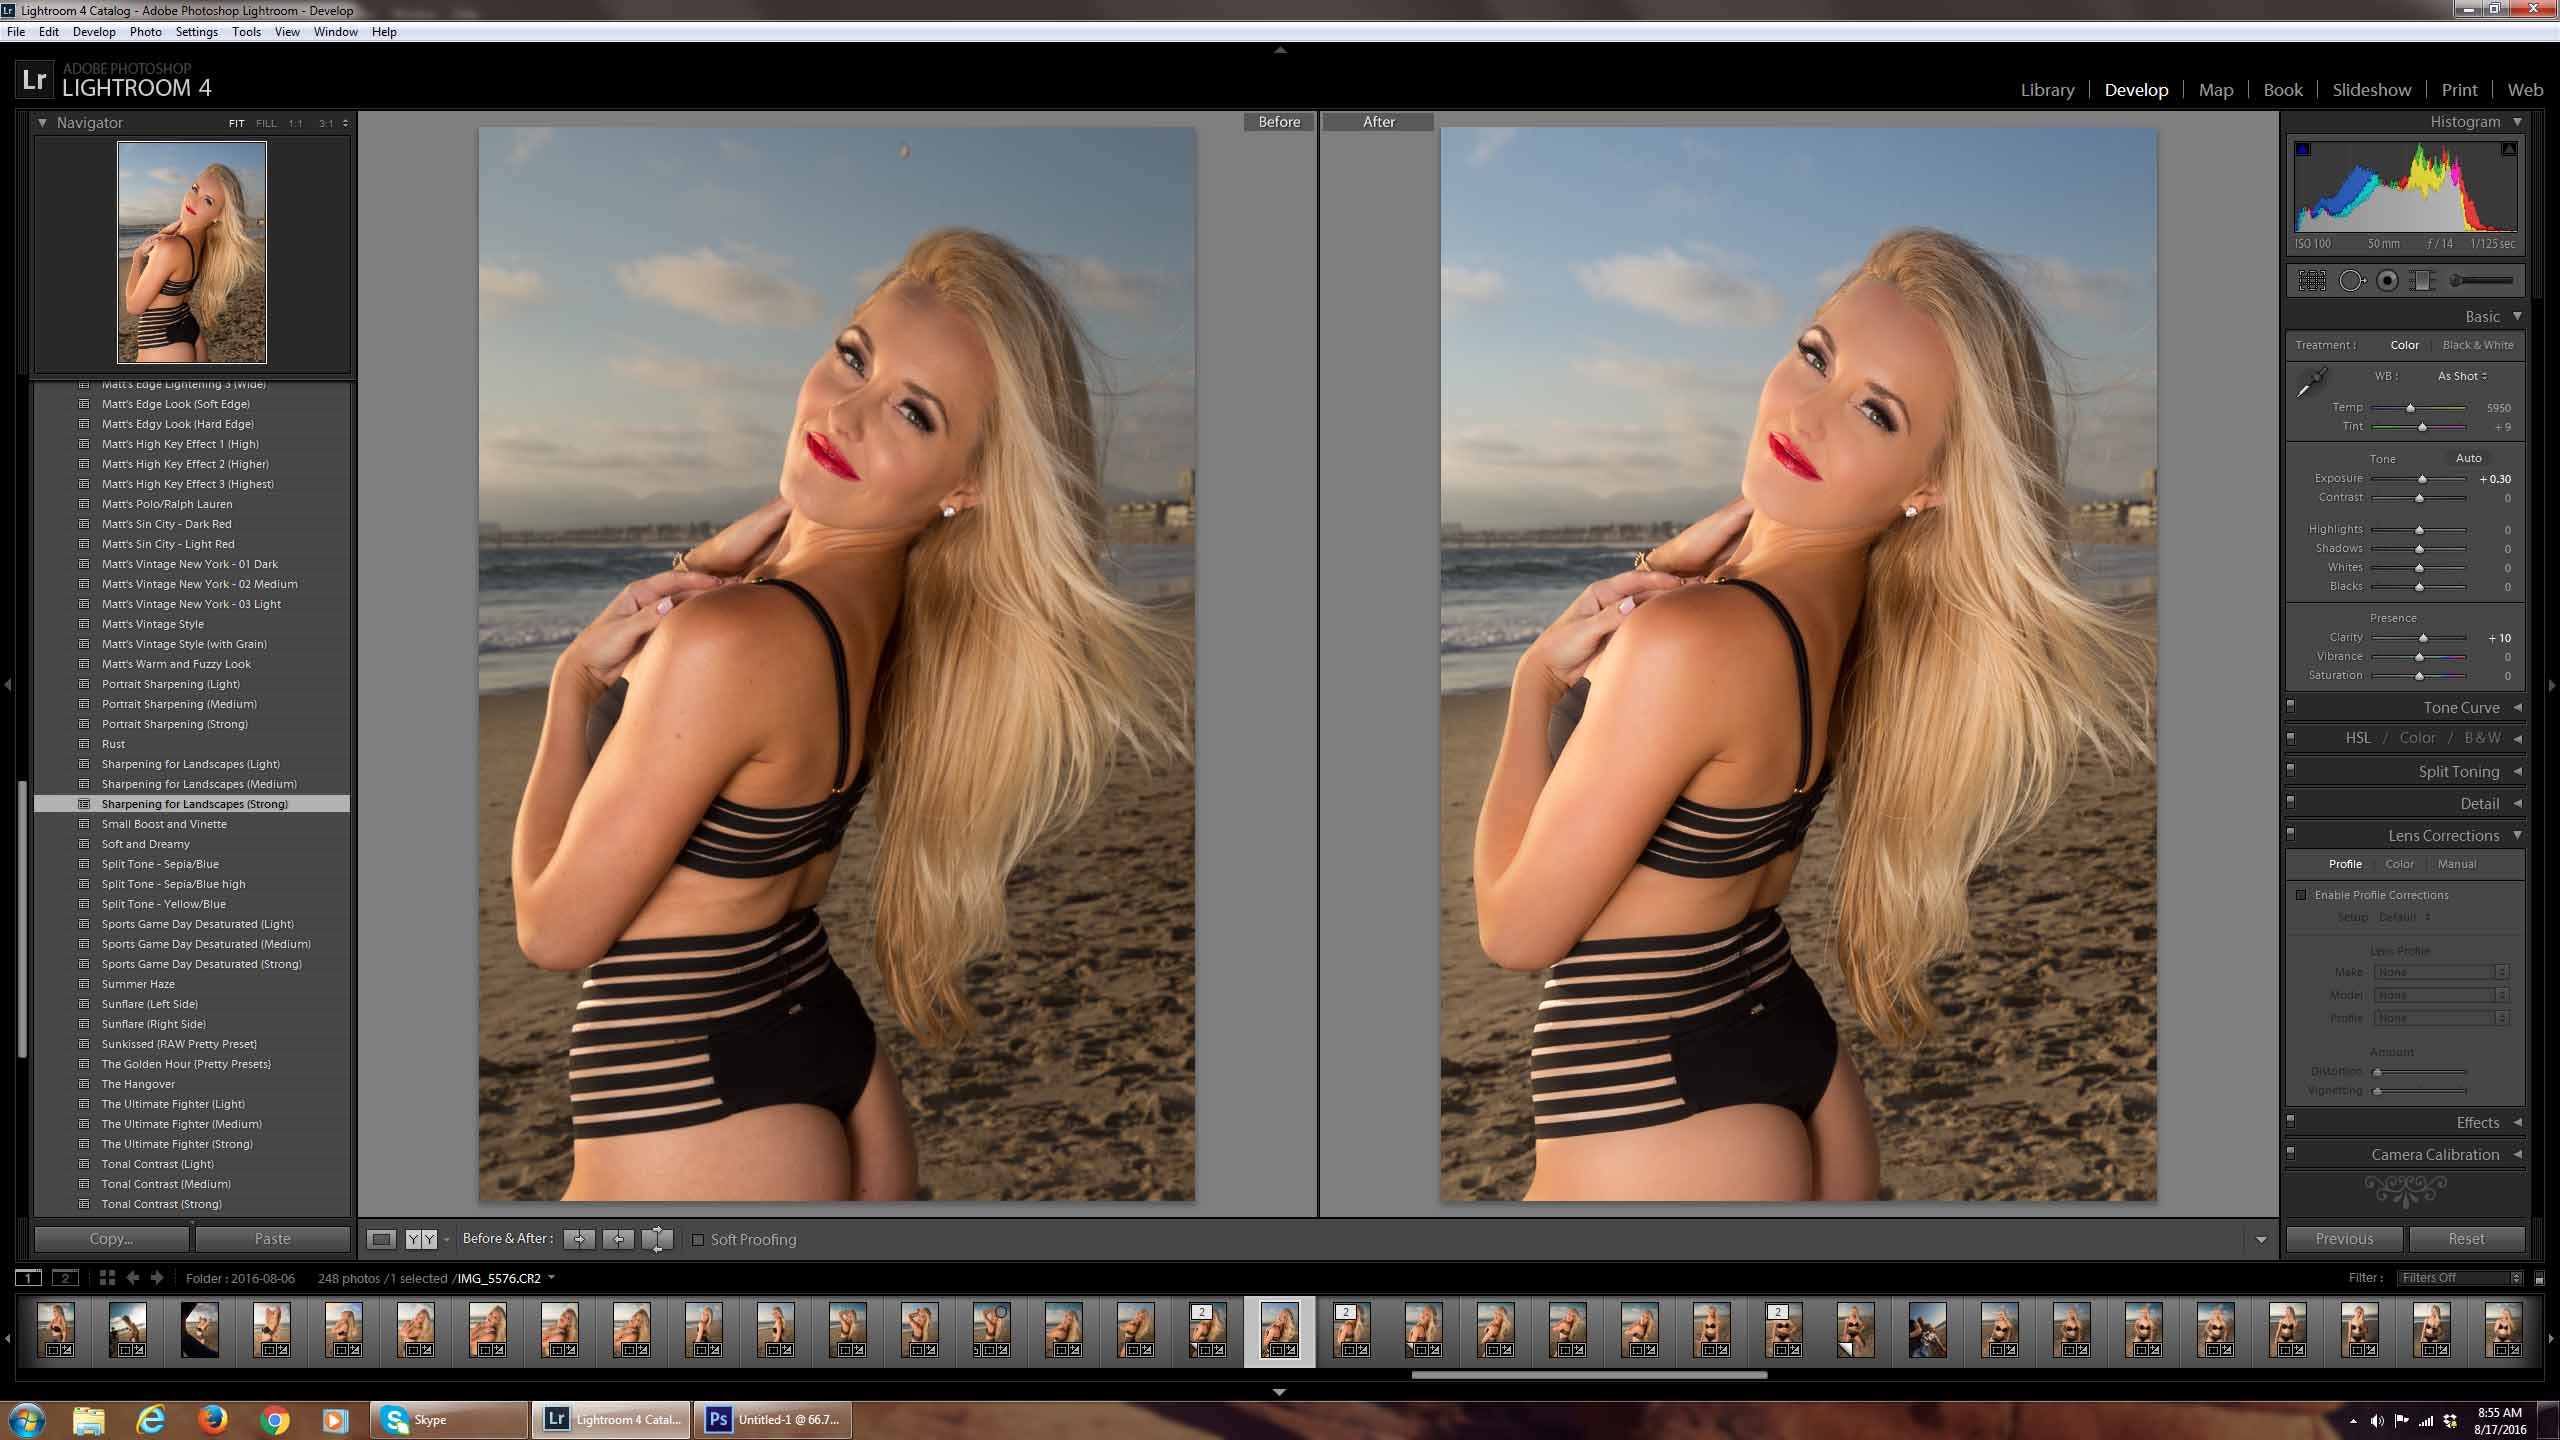
The skin and my model are looking great but the image still looks a little flat in my opinion. I need to get this image to pop! I spot removed something in the sky (directly above her head), and made the sky bluer by reducing the color temperature of that portion of the image. Finally, I’ve increased exposure by .25 stops.
5. Add Sharpness
Lastly, I’ve added just a little sharpness to the image to really make the model look crystal clear.
Final Before and After Comparison
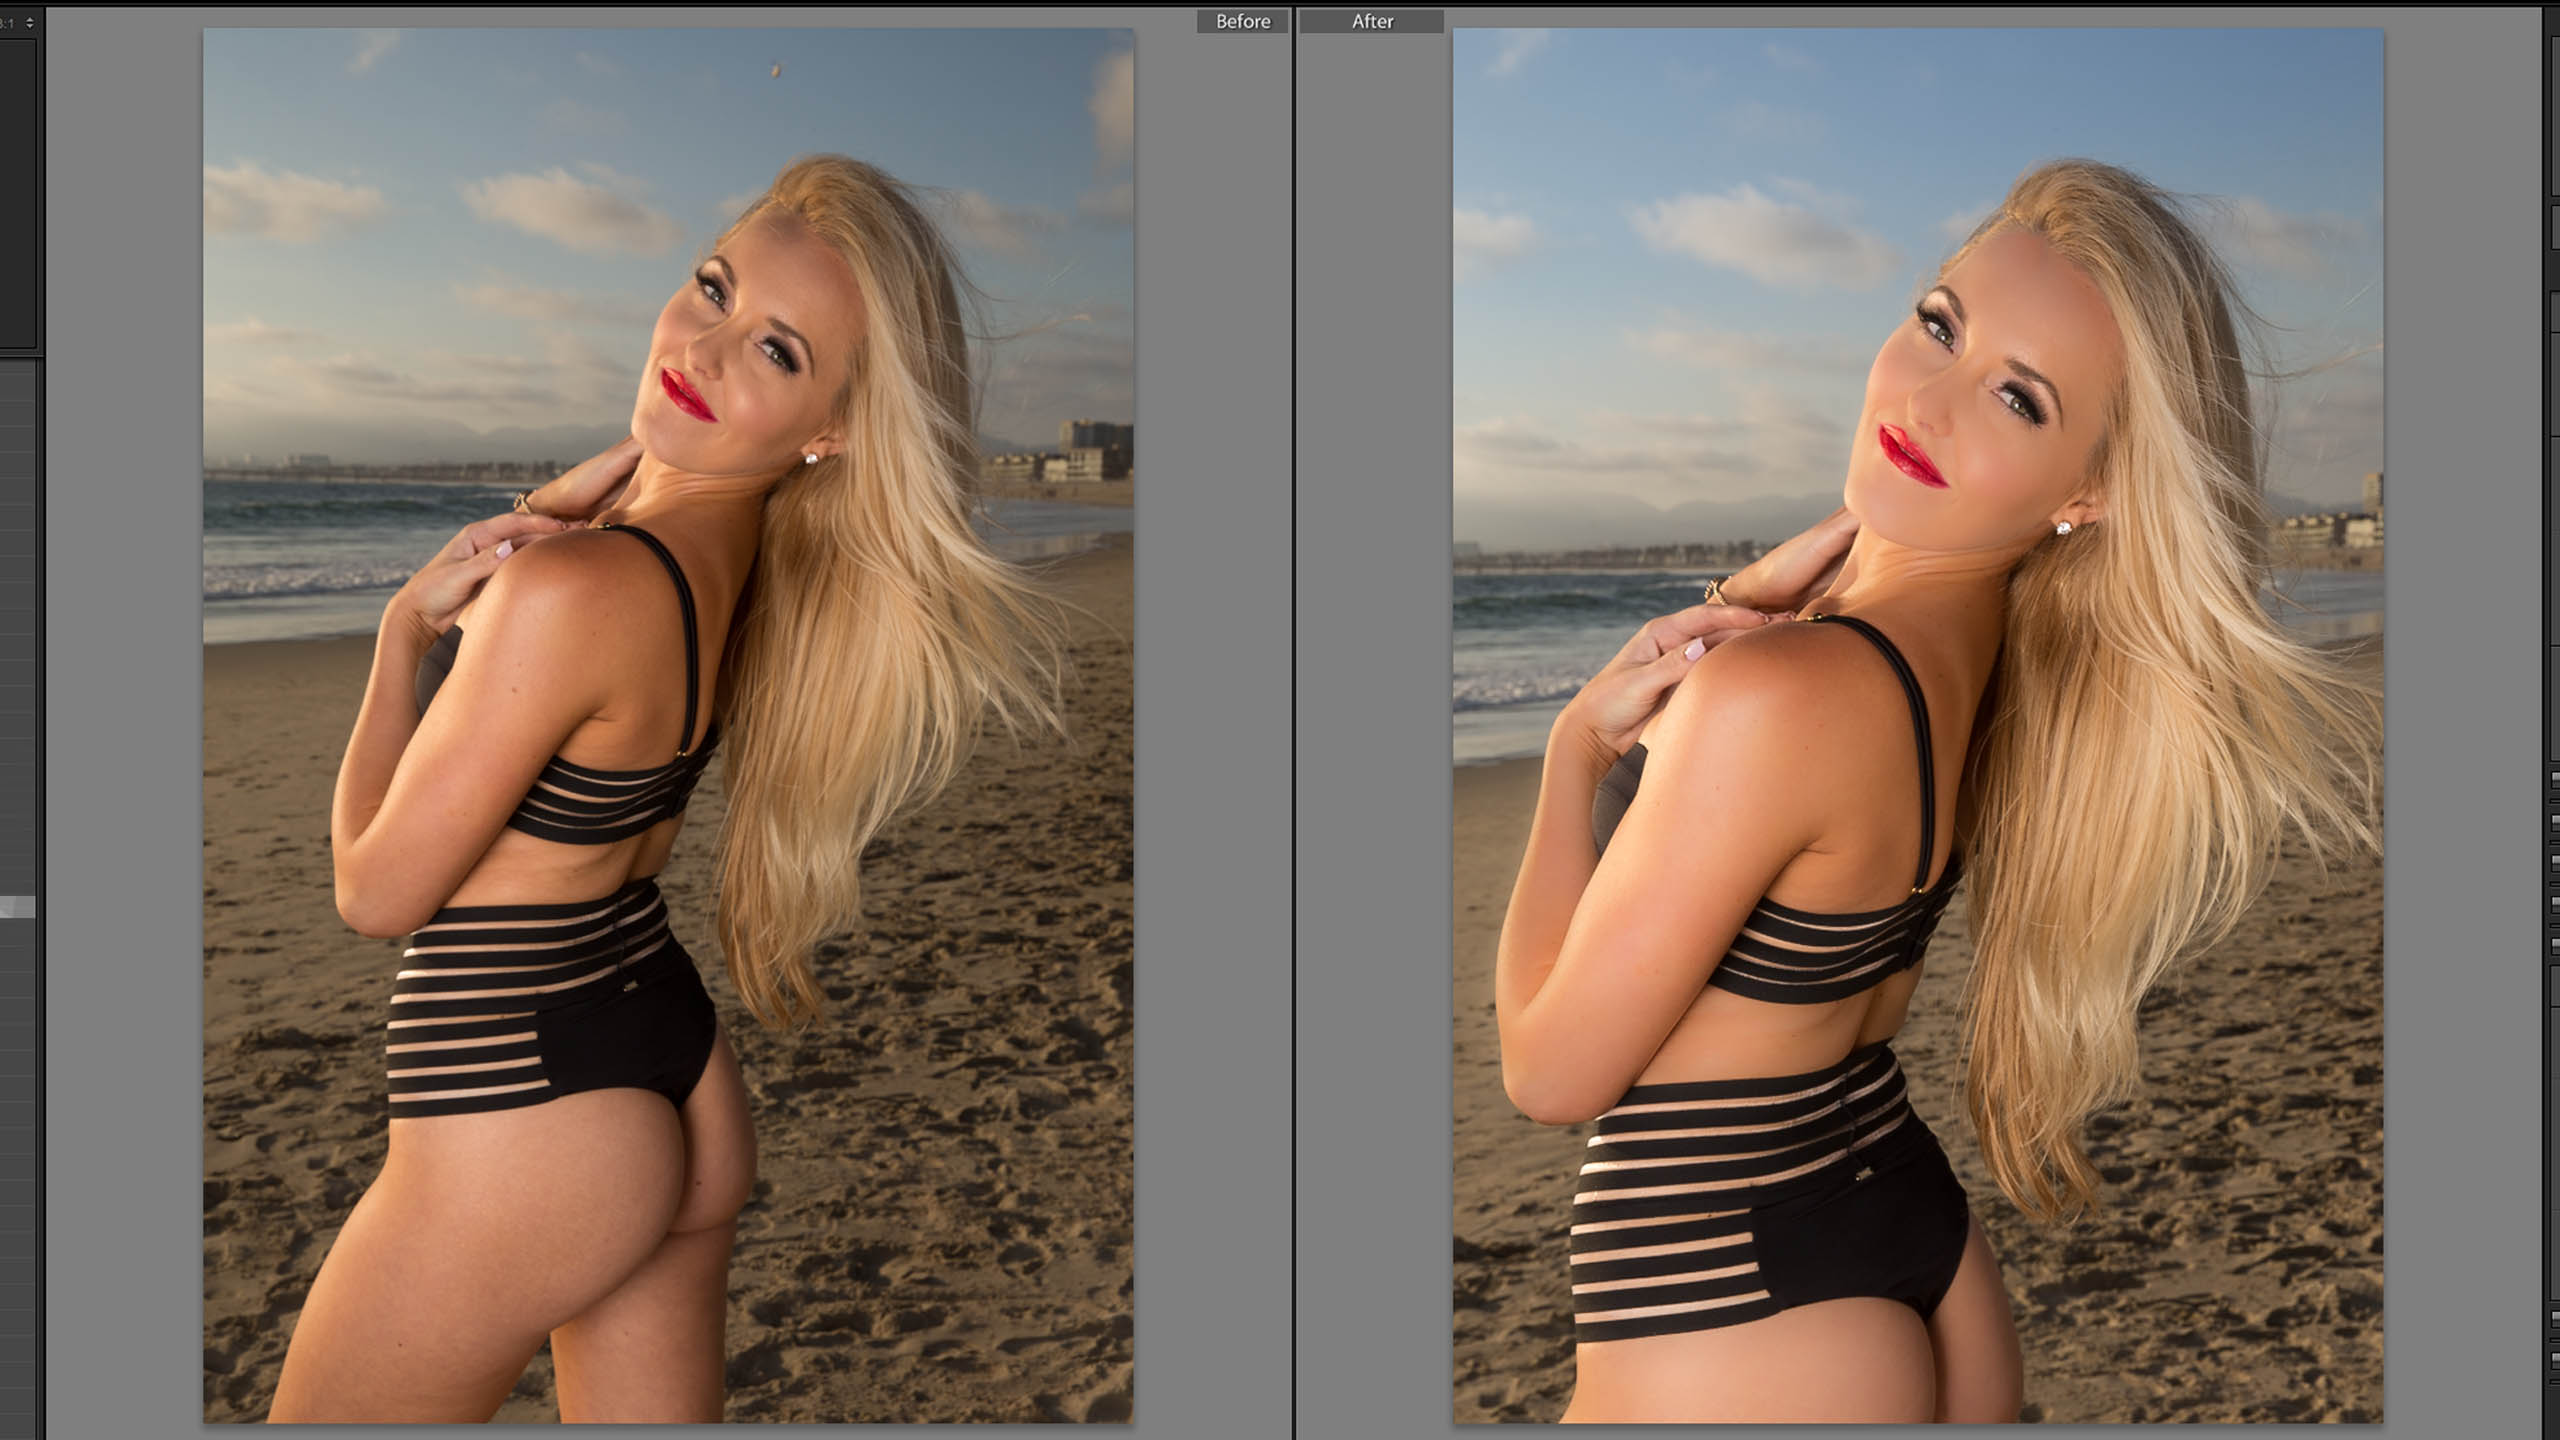
And there you have it… 5 easy steps and about 5 minutes to make a good photo AWESOME!
If you are interested in working together or have something meaningful to share please contact me, your input is appreciated.
